Transfer to another provider sometimes is a cheap way that many people choose to renew their domains. At the moment, LCN can be the best place for yours. Domain transfer price here is one of the lowest rates at the moment – only $6.25, applied for .COM/.NET/.ORG/.INFO/.BIZ with no limit.
![]()
After the free transfer sale ended, I had a domain name at LCN and start discovering this provider panel. I found out that it’s a little bit difficult for you at the 1st time using all the function at LCN’s control panel. But once you knew the tips/information, all will become so much easier.
- I. Change Nameservers
- II. Pointing Domain to an IP Address
- III. Renew Domain
- IV. Add Domain Privacy Protected/SSL
- V. Push Domain
- VI. Transfer Out
- VII. Manage Payment Details
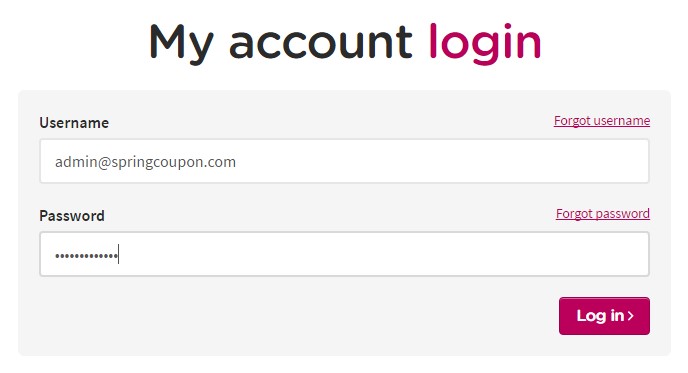
Before you start to set up the domain, of course, the first step must be to log into your LCN’s account.
– Click here to go to login page.
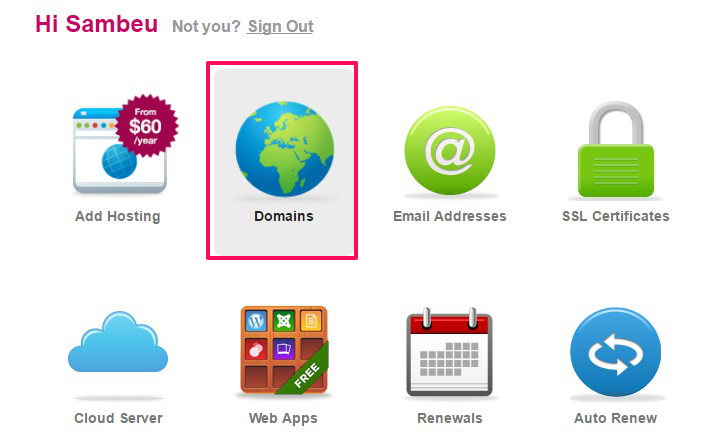
 – Press Domains to access to domain management page.
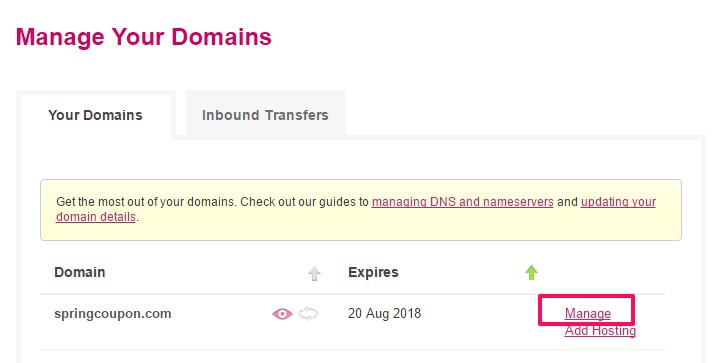
– Select Manage to start to configure the domain.
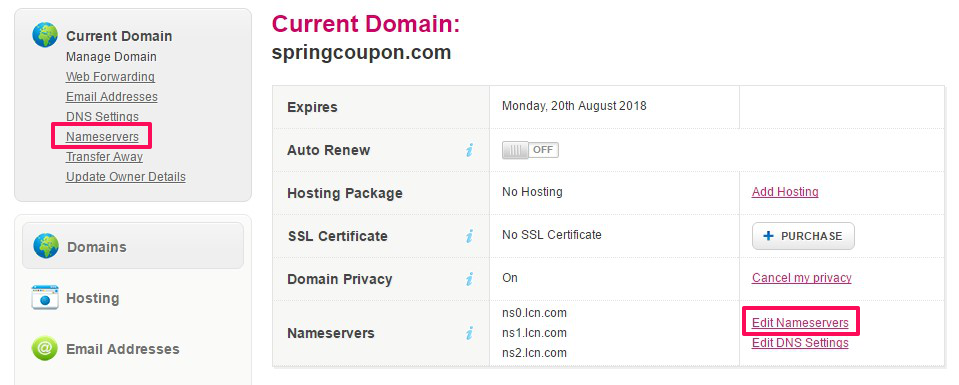
I. Change Nameservers
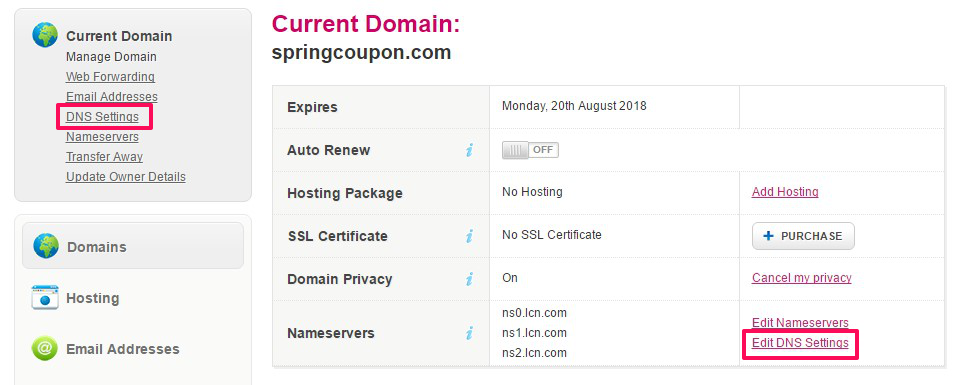
– Click Nameservers at the top left sidebar or click Edit Nameservers in the Current Domain table.
– Fill in your custom Nameservers.
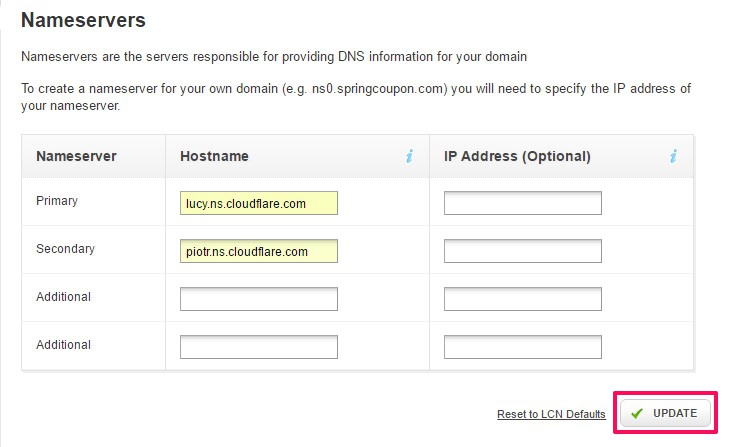
– Press UPDATE to save.
If you want to use LCN’s default Nameserver, just press Reset to LCN Defaults.
II. Pointing Domain to an IP Address
A records (Address records) are part of the domain name system (DNS) and their primary use, is to link domain names to the IP address of the web server a website is hosted on. If you’ve moved to a new hosting provider, there’s a chance you may need to change or add A records for your domain name.
– Click DNS Settings at the top left sidebar or click Edit DNS Settings in the Current Domain table.
– Click the ADD AN A RECORD button.
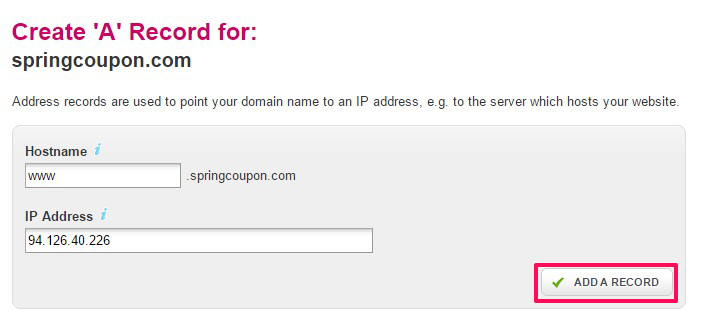
- In the Hostname field enter the text you want before your domain e.g. www
- In the IP Address field enter the IP address of your server e.g. 94.126.40.226.
- Click ADD A RECORD and allow up to 24 hours for the changes to take effect.
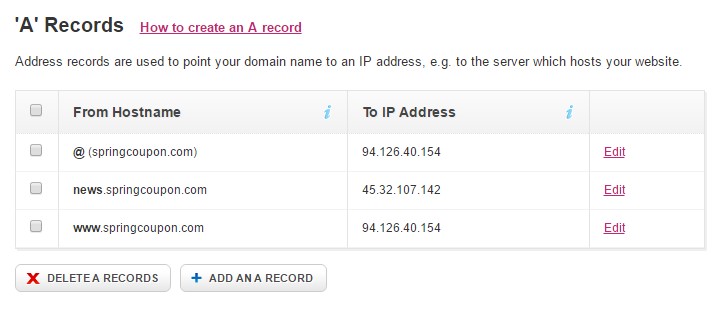
Here is the result:
 MX, CNAME, TXT and SRV Records have the same steps to manage at DNS zone.
- Edit: Edit records’ details.
- DELETE A RECORDS: remove records’ value.
III. Renew Domain
Auto Renew
– Go to Auto Renew section.
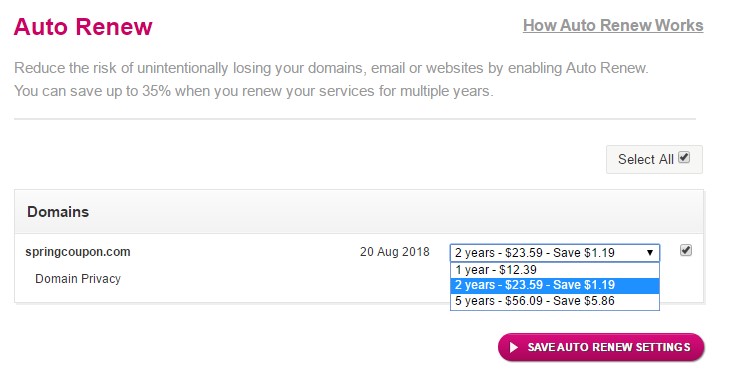
– Choose the auto billing cycle you want to renew then click SAVE AUTO RENEW SETTINGS.
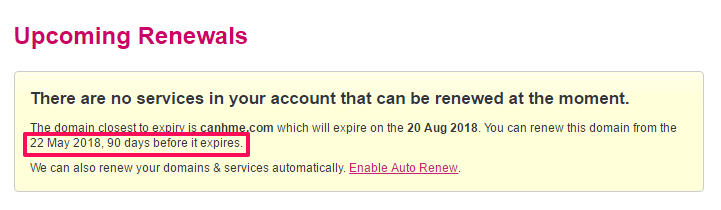
Manual Renew
At LCN, you can only manual renew the domain 90 days before it expires.
IV. Add Domain Privacy Protected/SSL
LCN does not give free domain privacy or SSL. If you want to protect your personal information and website, you’ll have to pay a little more money:
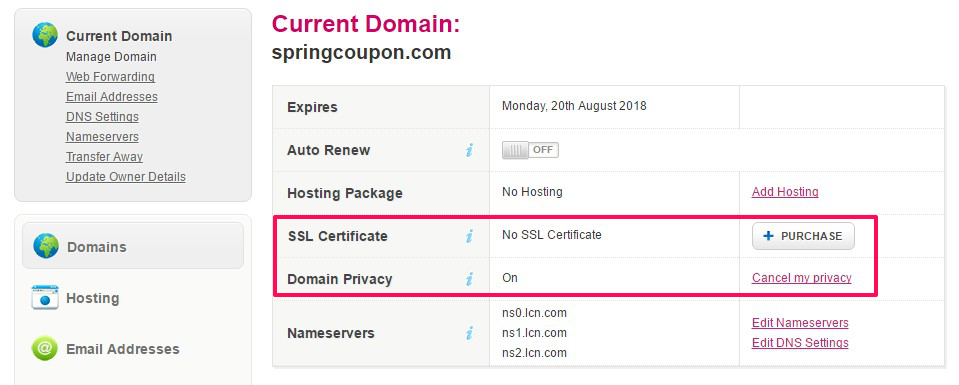
- SSL Certificate: $2.59/month.
- Domain Privacy: £4.95/year (~ $6.3/year).
V. Push Domain
To push a domain to another account at LCN, all you need to do is asking the support team to do it for you. You can’t do it yourself.
VI. Transfer Out
To transfer a domain, you need to unlock the domain and get Auth code.
– Go to Transfer Away section now.
![]()
At LCN, you can easily transfer your domains to other providers with no additional conditions or fee. But remember that, a domain can only be transferred out after its 60 days old, according to ICANN transfer policy.
If your domain is at LCN less than 60 days, you will get this notification at Transfer Away.
![]()
Once you have enough 60 days long, follow the steps below:
– Click CONTINUE WITH TRANSFER at the bottom of the page.
– Give the reason why you wanna leave LCN, press Unlock Domain to unlock the domain and get Auth code.
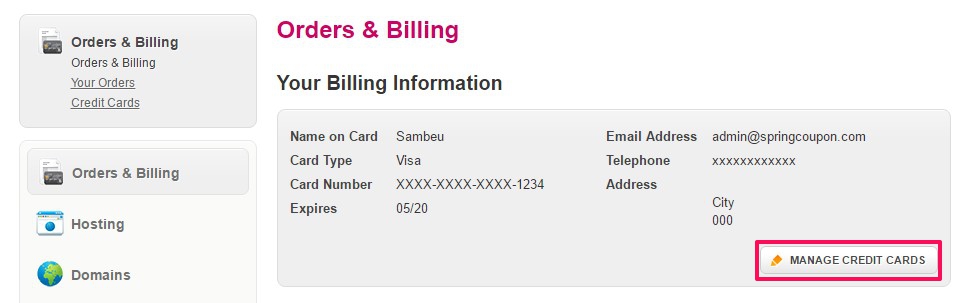
VII. Manage Payment Details
Difference from other providers, you can remove all of you credit card detail at LCN.
Go to Orders & Billing, press MANAGE CREDIT CARDS.
- Update: Update card details.
- Delete: remove card.
- ADD A NEW CARD: add another card.
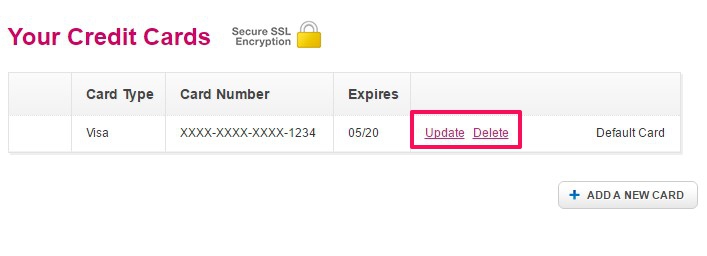
In case you get more than 1 credit card at LCN, remember to choose Default Card to let LCN system knows which can be used for auto-renew services.
Hope the post can be helpful with your staying time at LCN. To get more support, please click here.
Feel free to give a name of another domain provider you want to have domain management guide, if can, I’ll give a new guide post.
Have a nice working week guys!
Great article. Thanks! Regarding the push- if there’s a buyer who doesn’t have an account (naturally very few if any will), he needs to contact LCN support to open an account? I couldn’t see an option to just register to LCN.
You can see “Log in” on homepage at the top right corner or visit this link https://www.lcn.com/user/login, scroll down mouse and choose Create an account